Table of Contents
One of the most important — and sometimes overlooked — steps in sous vide cooking is searing the meat after it comes out of the water bath. Whether you’re finishing a steak, roast, or chicken, the sear contributes texture, color, and flavor. This guide focuses on searing with a cast iron pan and explains practical steps to get a great crust without compromising the perfectly cooked interior.
For cast iron recommendations and other gear, check resources on your favorite sous vide site or product guides.
Why should we sear our food?
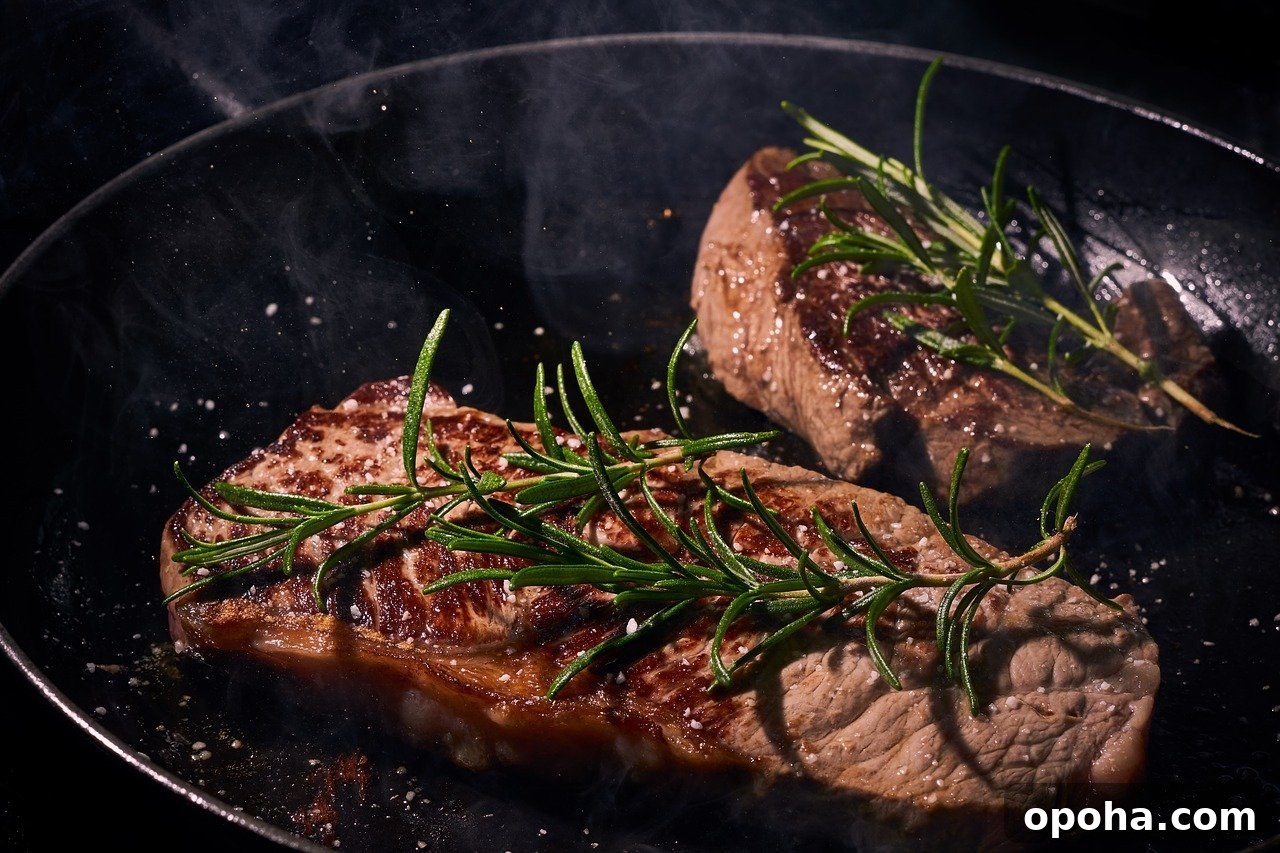
Searing enhances flavor and texture. A very hot cast iron pan (or a hot grill) creates a brown, crispy exterior through the Maillard reaction — a chemical process between amino acids and reducing sugars that produces the savory, browned flavors we associate with roasted, fried, or toasted foods. Proper searing adds visual appeal and a satisfying contrast to the tender interior achieved by sous vide.
How do we make sure we get the best sear after the sous vide?
Follow these practical steps to get an optimal sear after sous vide:
- Very hot pan: Preheat your cast iron until it’s smoking hot. A high surface temperature is essential to trigger the Maillard reaction quickly without overcooking the interior. Use a high smoke-point fat such as ghee or avocado oil.
- Dry the surface: Pat meat thoroughly with paper towels. Any surface moisture will cause steaming and prevent a proper crust from forming.
- Apply pressure if needed: Using a meat press or a weighted spatula helps ensure full contact between the meat and the pan, improving browning.
- Use a torch for touch-ups: A culinary torch can finish spots that don’t brown evenly on the pan, especially useful for thicker pieces or irregular surfaces.
- Short, frequent turns: Rotate or flip the meat every 10–20 seconds for an even crust. Total sear time is often just 1–2 minutes per side, depending on thickness and heat.
Tip: Keep searing time short to preserve the sous vide interior temperature and juiciness.
What other Searing Methods are good for the Sous Vide?
Grill
Searing on a hot grill is an excellent alternative, especially in warm weather. Preheat the grill to its highest setting and keep the lid closed while heating to reach maximum temperature. Lightly oil the meat, then sear each side for about 45–90 seconds. Don’t leave the meat on the grill too long to avoid drying the exterior or warming the center excessively.
Frying
Deep or shallow frying provides fast, even browning while keeping the interior moist. Heat oil to around 375°F (190°C) and immerse or partially submerge the meat for 30–90 seconds. Ensure the meat is thoroughly dried before introducing it to hot oil to prevent dangerous splattering and to achieve a clean crust.
Cooling
If you’re worried about overcooking the interior during searing, briefly cooling the meat helps. Chilling in the refrigerator or a short stint in the freezer firms the surface and concentrates the temperature difference, which limits heat transfer into the center during searing. This technique is helpful for thick cuts that need an intense exterior brown without raising internal temperature.
Flour
A thin coating of flour or cornstarch on the exterior can improve browning and add a slight texture. Lightly dust the surface and shake off excess before searing. This forms a fast-browning crust that many cooks find useful for delicate or lean cuts.
When performed correctly, searing complements sous vide cooking by adding flavor, texture, and visual appeal without drying out the meat. Short, intense heat combined with dry surfaces and proper fats will deliver consistently excellent results.
Note: The Maillard reaction is a natural browning process responsible for the flavor and color discussed above; it occurs at higher temperatures and is distinct from sugar caramelization.