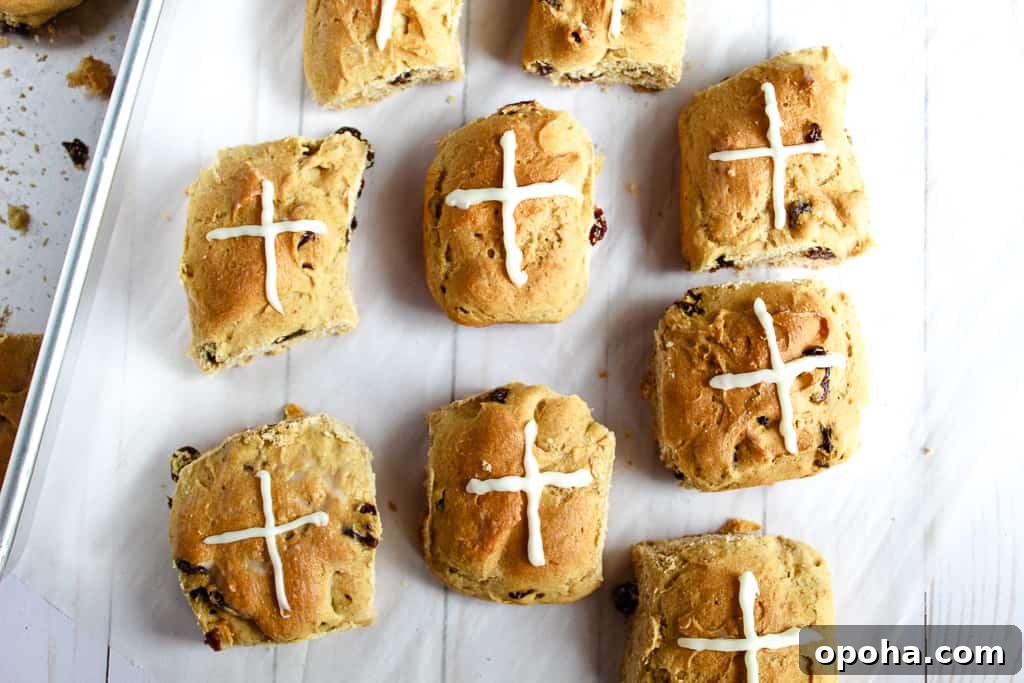
Instead of becoming soft and fluffy, gluten-free hot cross buns often turn out dense, dry, or under- or over-risen because gluten-free dough behaves differently. This recipe is built to correct those problems so you get soft, well-risen buns with a light crumb and no gummy or heavy texture.

If you’ve tried other reliable gluten-free sweet breads, you’ll recognize the same practical approach here: focus on consistent hydration, the right flour-and-starch balance, and precise mixing so the results are repeatable whether you bake these for Easter or any other occasion.
What Are Gluten-Free Hot Cross Buns?
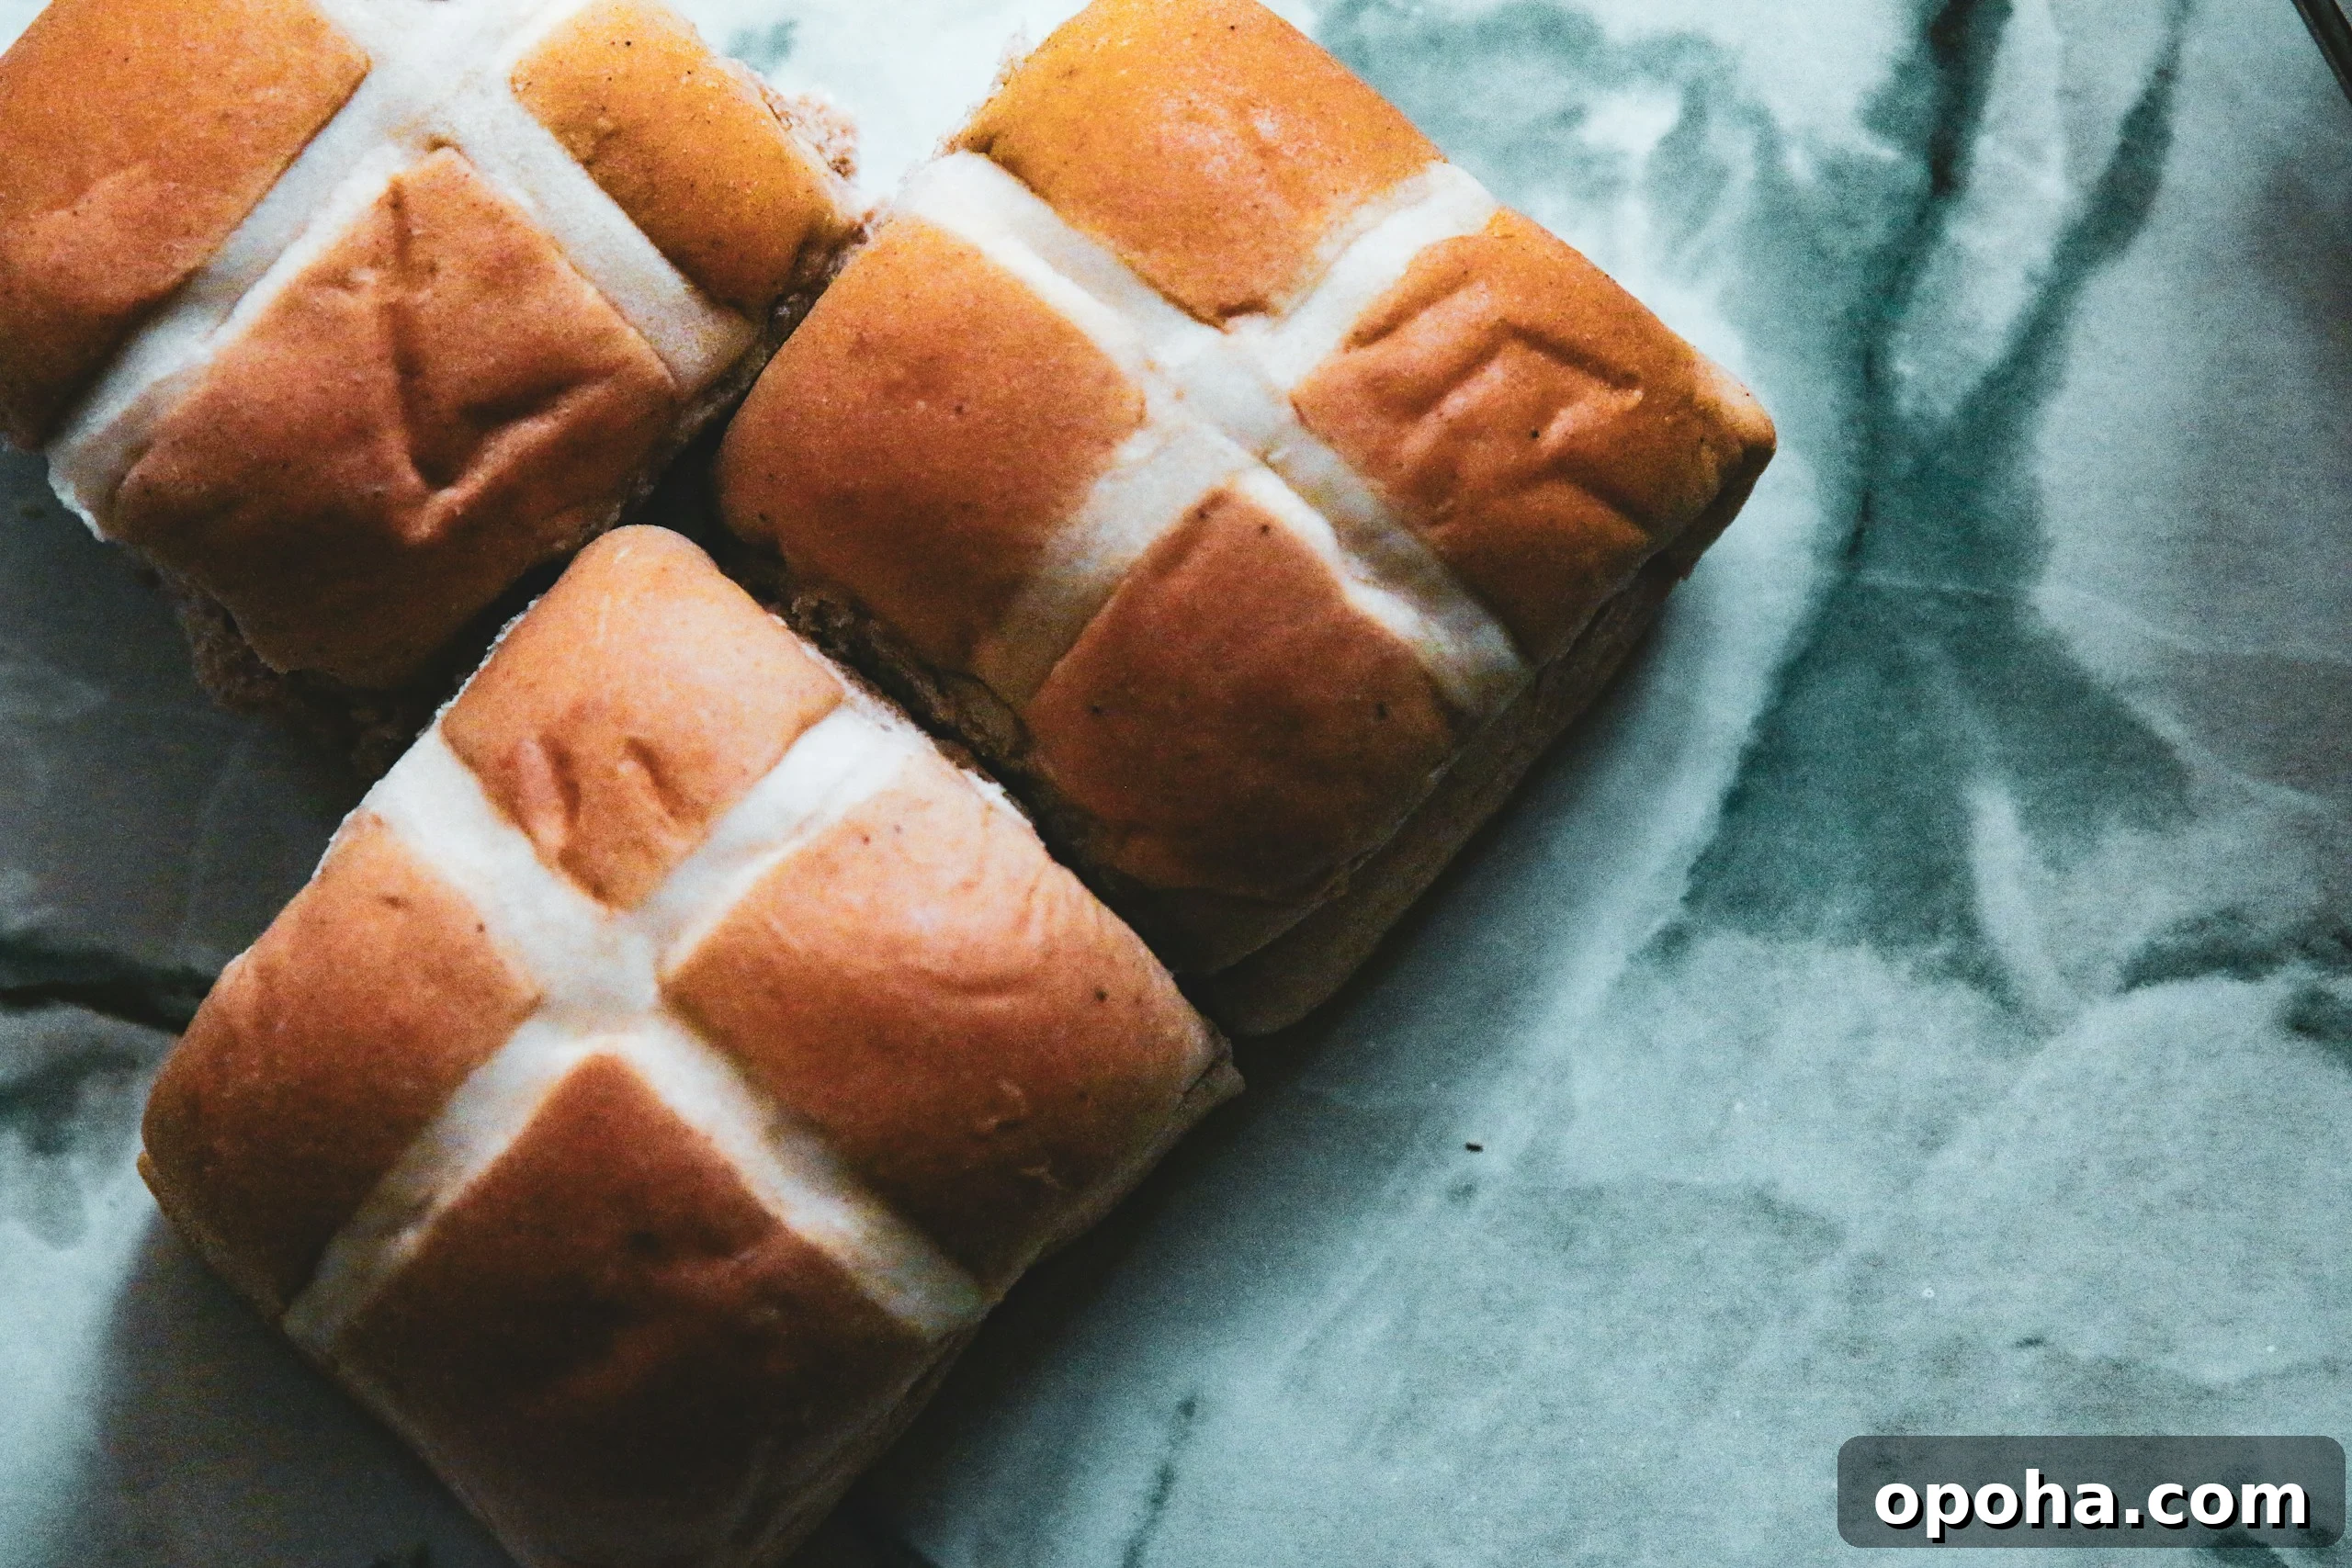
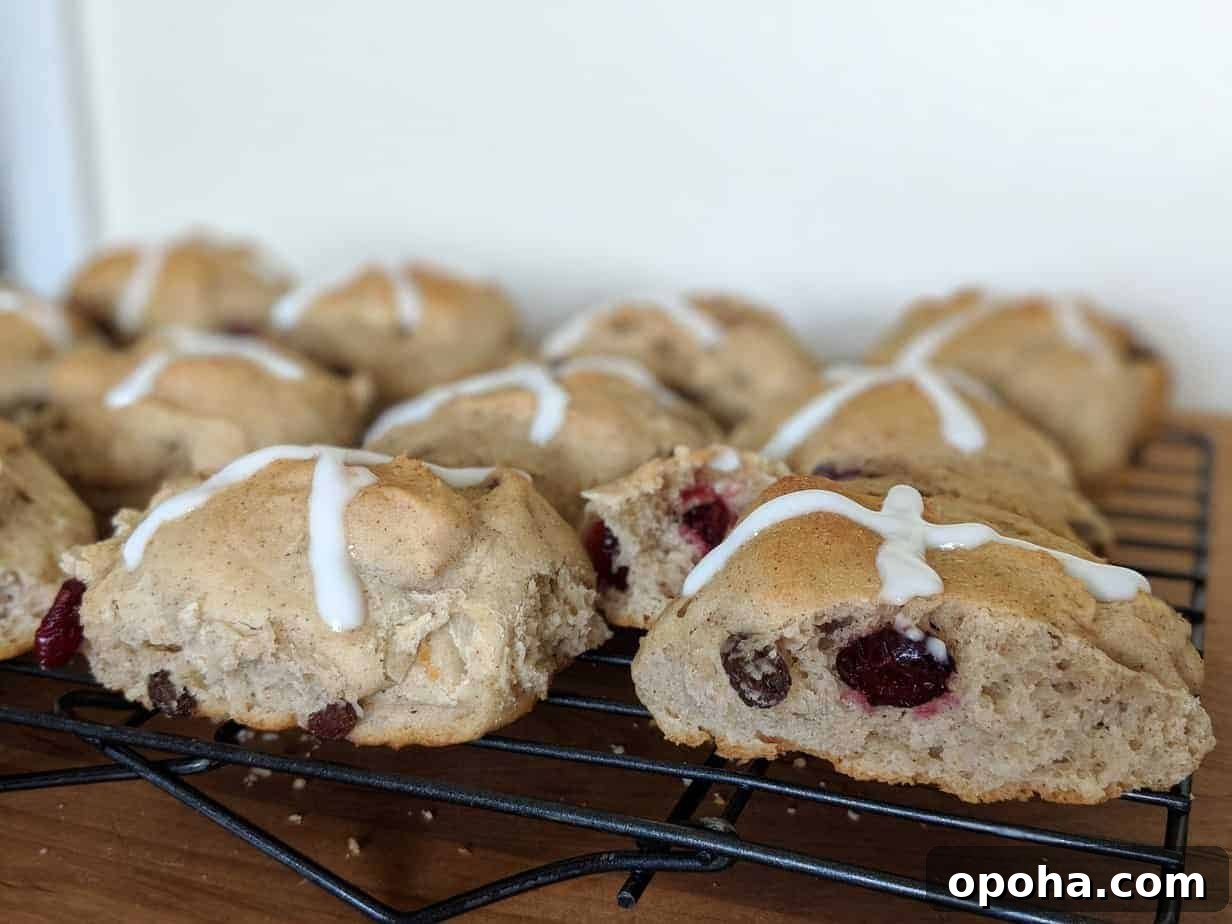
Gluten-free hot cross buns are a wheat-free take on the traditional Easter buns. They are mildly sweet, spiced with cinnamon, often studded with dried fruit, and finished with a cross-shaped icing on top. Like the classic version, these are yeasted and meant to be soft and slightly enriched.
Why You’ll Love These Gluten-Free Hot Cross Buns
- Classic Easter flavor: Warm cinnamon, brown sugar, dried fruit, and a light vanilla glaze deliver the familiar taste.
- Soft gluten-free texture: Designed to avoid the common dryness and density of many gluten-free buns.
- Dairy-free option: Easily made with coconut oil or vegan butter.
- Make-ahead friendly: Freeze unglazed buns and finish before serving.
- Versatile for occasions: Great for brunch, breakfast, dessert, or as part of a holiday spread.
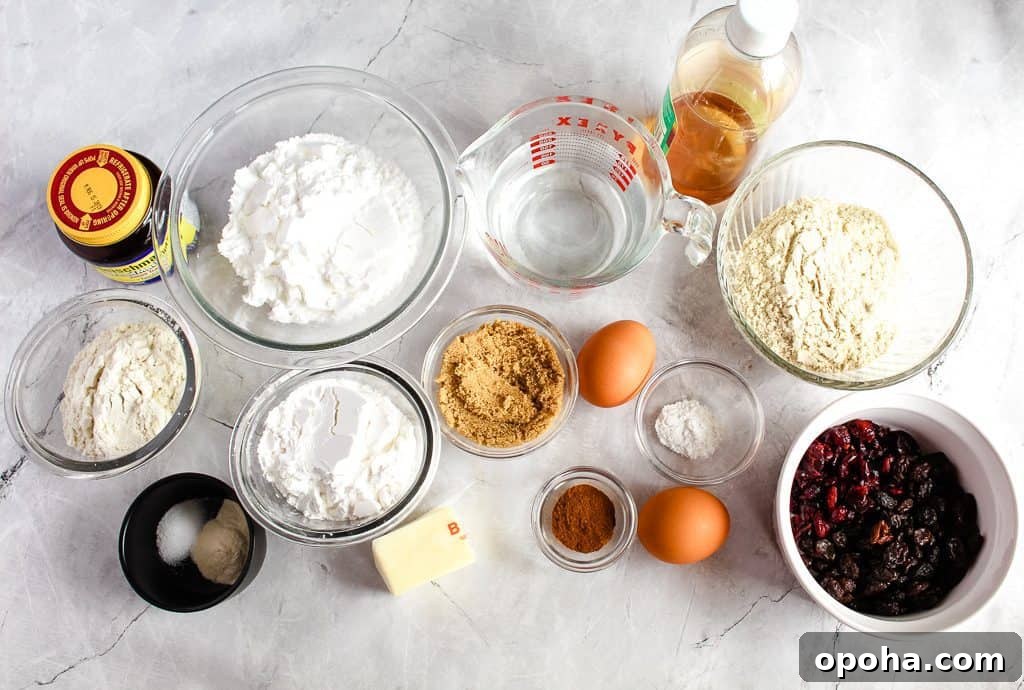
A Quick Overview of the Key Ingredients
Scan these before you start. The list is simple so you can move into the recipe quickly.
- Gluten-free flours: brown rice flour, sorghum flour
- Starches: tapioca starch, potato starch
- Xanthan gum
- Instant yeast
- Brown sugar
- Eggs
- Butter or coconut oil
- Warm water
- Apple cider vinegar
- Cinnamon and salt
- Raisins and dried cranberries
For Finishing
- Powdered sugar
- Vanilla extract
- Milk or dairy-free alternative
Essential Ingredients Explained
Below is why each ingredient matters and which swaps are safe. Some changes will alter texture, so swap cautiously.
Gluten-Free Flour Blend (Brown Rice Flour, Sorghum Flour)
Brown rice flour gives structure while sorghum adds softness and pleasant flavor. Use both for balance; replacing the blend with a single flour usually produces a dense result.
Starches (Potato Starch, Tapioca Starch)
Starches are critical for lightness and elasticity. They mimic gluten’s stretch and keep the crumb tender.
Xanthan Gum
This provides binding and prevents crumbling. It’s essential for structure in gluten-free yeast breads.
Instant Yeast
Yeast creates the rise and air pockets that keep the buns light. Use fresh yeast and warm water for best results.
Eggs
Eggs add richness and help trap air when mixed, contributing to rise and texture. Egg replacers can work but slightly reduce structure.
Butter (or Coconut Oil)
Fat keeps the crumb tender, improves mouthfeel, and adds flavor. Use a dairy-free fat if needed.
Brown Sugar
Feeds the yeast, adds moisture and caramelized flavor, and supports browning.
Apple Cider Vinegar
A small acid addition slightly strengthens the dough matrix and can improve rise.
Raisins (and Dried Fruit)
Traditional and flavorful—use them for the classic profile or swap for chocolate chips, nuts, or leave them out for a plainer bun.
Finishing Ingredients (Cross + Glaze)
Powdered sugar, vanilla, and a little milk (or plant milk) create the icing used for the cross and the glossy glaze. Adjust thickness to pipe the cross cleanly.
Best Substitutions (Flexibility Within Limits)
Some swaps are fine: coconut oil or vegan butter for butter, oat or almond milk in the glaze. Changing core flours or removing the starches will noticeably affect texture, so keep the starch combination and xanthan gum.
The Non-Negotiables of Gluten-Free Baking
To get the right texture you must include:
- Xanthan gum to hold the crumb together.
- Starch blend (potato + tapioca) for tenderness and elasticity.
- Yeast for rise—there is no direct substitute.

Printable Gluten-Free Hot Cross Buns Recipe Card
Ingredients
Dry Ingredients
- 160 g potato starch (about 1 cup)
- 135 g sorghum flour (about 1 cup)
- 60 g tapioca starch (about ½ cup)
- 70 g brown rice flour (about ½ cup)
- 1 ¾ tsp xanthan gum
- ½ tsp salt
- 1 ¼ tsp cinnamon
- 1 tsp baking powder
- 2 ¼ tsp instant yeast
Wet Ingredients
- 5 Tbsp brown sugar
- 2 eggs
- 4 Tbsp butter, softened (or coconut oil)
- 1 tsp apple cider vinegar
- 1 cup warm water (about 110°F / 43°C)
Add-ins
- ½ cup raisins
- ¼ cup dried cranberries
Glaze
- 1 cup powdered sugar
- ½ tsp vanilla extract
- 1–1½ tsp milk or dairy-free milk
Instructions
- Prepare a 9×13-inch baking pan by greasing it or spraying it with cooking spray. Set aside.
- In a medium bowl, whisk together potato starch, sorghum flour, tapioca starch, brown rice flour, xanthan gum, salt, cinnamon, baking powder, and instant yeast. Set aside.
- In the bowl of a stand mixer or a large mixing bowl, combine brown sugar, eggs, and softened butter. Mix on medium for about 1 minute until smooth.
- Add the apple cider vinegar and warm water, then beat on high for 2 minutes to hydrate the flours and incorporate air.
- Add the dry ingredients and mix on high for 2 more minutes until fully combined. The mixture will resemble a thick cake batter rather than a traditional dough.
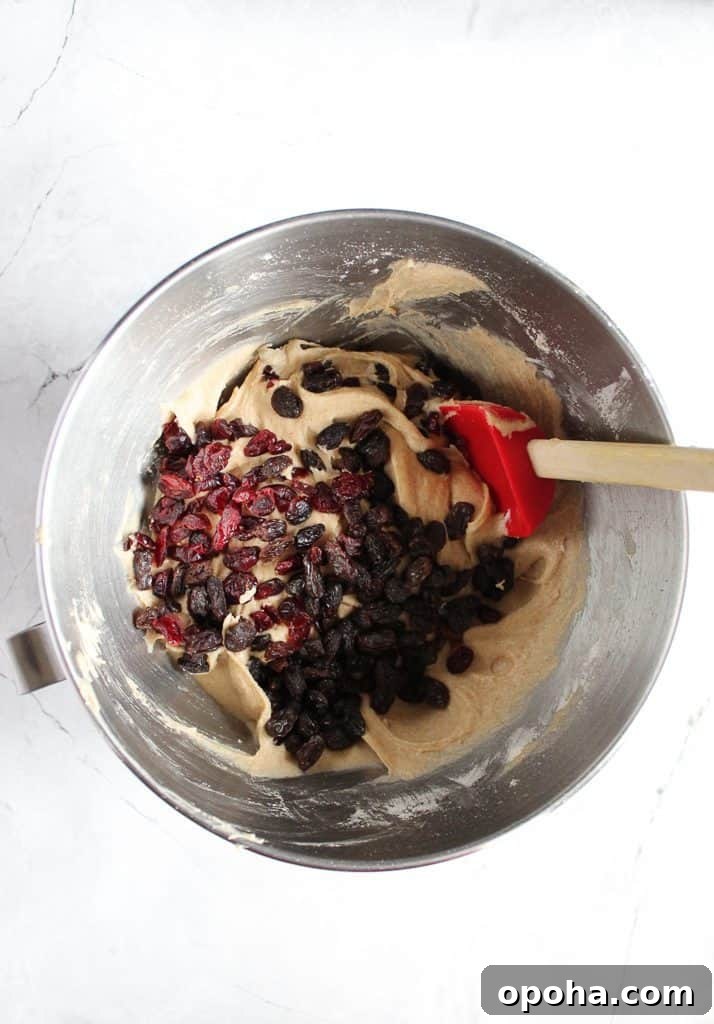
- Fold in the raisins and dried cranberries with a spatula.
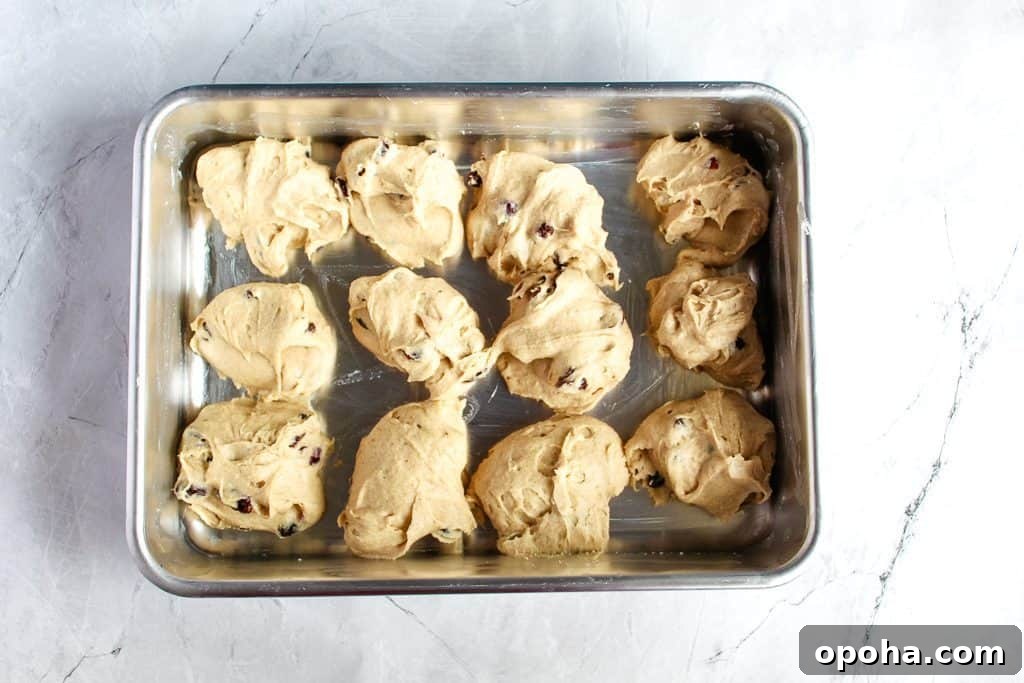
- Using a ⅓-cup measure, portion 12 scoops of batter into the prepared pan.
- Cover with plastic wrap and let rise in a warm, draft-free spot for about 30 minutes. The buns should look slightly puffed but will not double.
- Preheat the oven to 375°F (190°C) and bake for 25 minutes, or until the tops are golden brown and the interior is set.
- Remove from the oven and let cool in the pan for a few minutes before glazing so the crumb finishes setting.
Make the glaze and decorate
- Whisk powdered sugar, vanilla, and milk until smooth and pipeable. Adjust milk to achieve a slightly thick but flowing consistency.
- Transfer glaze to a piping bag or a plastic bag with a tiny corner cut off and pipe a cross onto each bun. Allow the glaze to set briefly before serving.
Notes
Success Tips
- The batter should look like thick cake batter, not a kneadable dough.
- Use warm (not hot) water to activate the yeast properly.
- Do not add extra flour to fix stickiness — that will make buns dense.
- Mix thoroughly for even structure and an even rise.
Doneness Cues
- Tops should be golden brown.
- Buns should feel firm and spring slightly when pressed.
- The bottom should sound slightly hollow when tapped.
- The interior should be set, not wet or gummy.
Storage & Reheating
- Room temperature: Best eaten the same day.
- Short-term: Store in an airtight container for up to 2 days.
- Freezing: Freeze up to 2 months (without glaze).
- Reheat: Warm in the oven or microwave to restore softness.
Nutrition
Calories: 234 kcal |
Carbohydrates: 46 g |
Protein: 3 g |
Fat: 4 g
Hot Cross Buns: A Tradition Baked Into Every Cross
Understanding what makes hot cross buns special helps when you adapt them to gluten-free ingredients. The cross on top traditionally symbolizes the crucifixion, which is why these buns are associated with Good Friday and Easter. The spice blend and gentle sweetness are part of that tradition and are preserved here even without wheat.
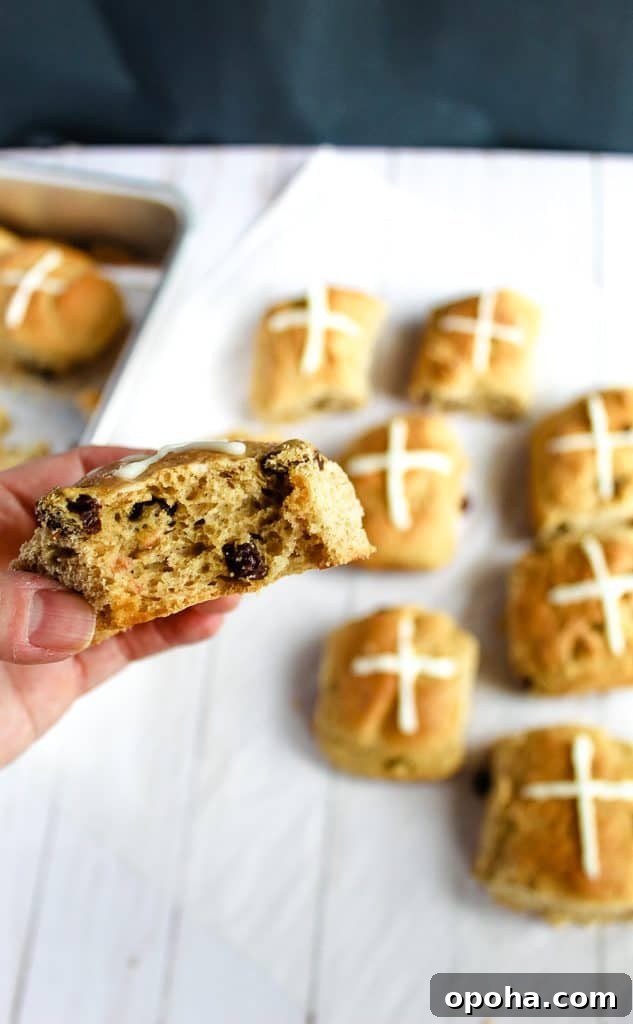
Easter Meaning & Symbolism
Beyond taste, hot cross buns carry symbolism: the cross, the spices, and the sharing element of the bun all connect the recipe to seasonal and religious observance. Translating that into a gluten-free version lets people with gluten intolerance enjoy the same ritual and flavor.
Why They’re Eaten at Easter
Hot cross buns became an Easter staple because they are easy to make, simple to share, and full of symbolic meaning. Even as a gluten-free recipe, they still serve that seasonal role: a fragrant, spiced, shareable bread that marks the holiday.
Step-by-Step Recipe Instructions
Precision matters with gluten-free yeasted bakes. Follow each step and pay attention to texture cues: the batter should be thick and scoopable, proofing should be in a warm spot, and baking should be long enough to set the crumb without drying the buns.
Essential Kitchen Tools
These tools make the process easier and improve consistency:
- Stand mixer or hand mixer for even mixing.
- Mixing bowls for dry and wet ingredients.
- Digital kitchen scale for accurate measurements.
- Measuring cups and spoons.
- 9×13-inch baking pan.
- Spatula for folding and scraping.
- Piping bag or a plastic bag for the crosses.
- Cooling rack to let air circulate after baking.
Step 1: Prepare the Pan
Lightly grease a 9×13-inch pan to prevent sticking and make removal easy after baking.
Step 2: Mix the Dry Ingredients
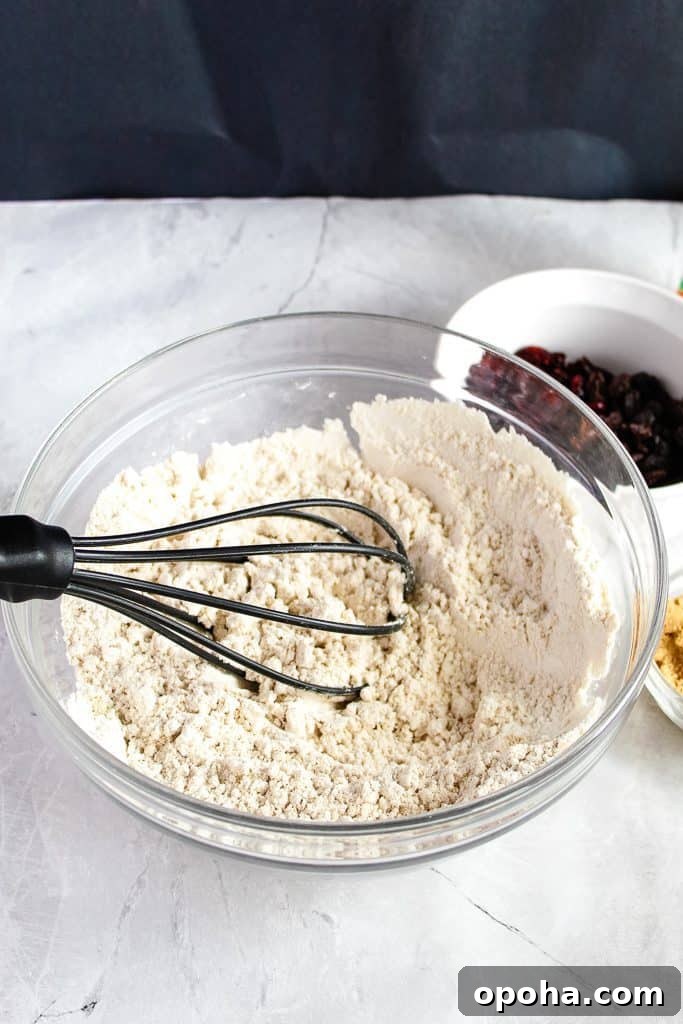
Whisk flours, starches, xanthan gum, salt, cinnamon, baking powder, and instant yeast until evenly combined. Proper distribution prevents uneven rise.
Step 3: Mix the Wet Ingredients
Combine brown sugar, eggs, and softened butter and mix until smooth. Then add vinegar and warm water and mix thoroughly to hydrate the flours.
Step 4: Combine and Build the Dough
Beat the combined wet and dry ingredients until the batter is smooth. It will resemble thick cake batter — that is normal for gluten-free hot cross buns. Avoid adding extra dry ingredients to firm it up, as that will create a dry, dense crumb.
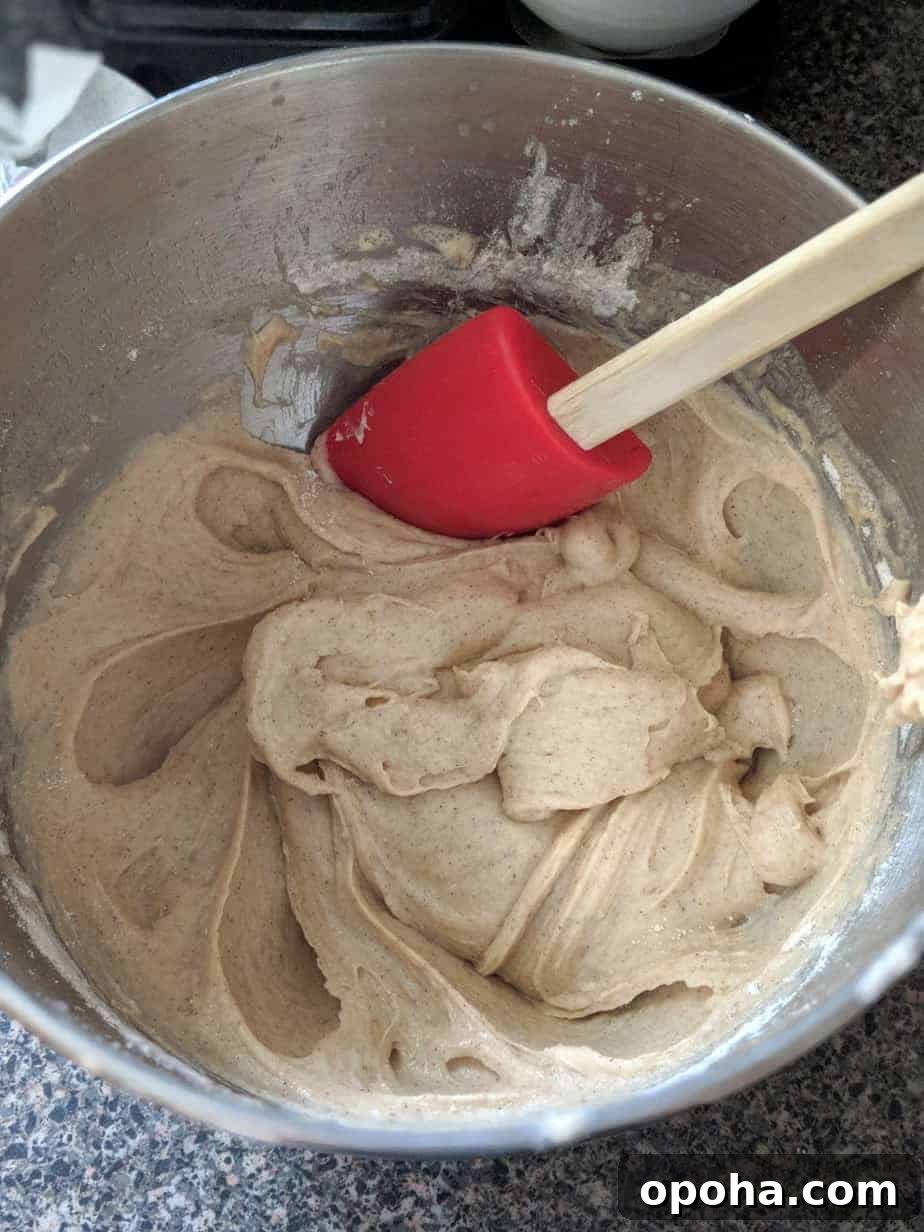
The mixture should look like thick cake batter, not traditional dough.
Step 5: Add the Fruit
Fold in raisins and dried cranberries gently so they distribute evenly without deflating the batter.
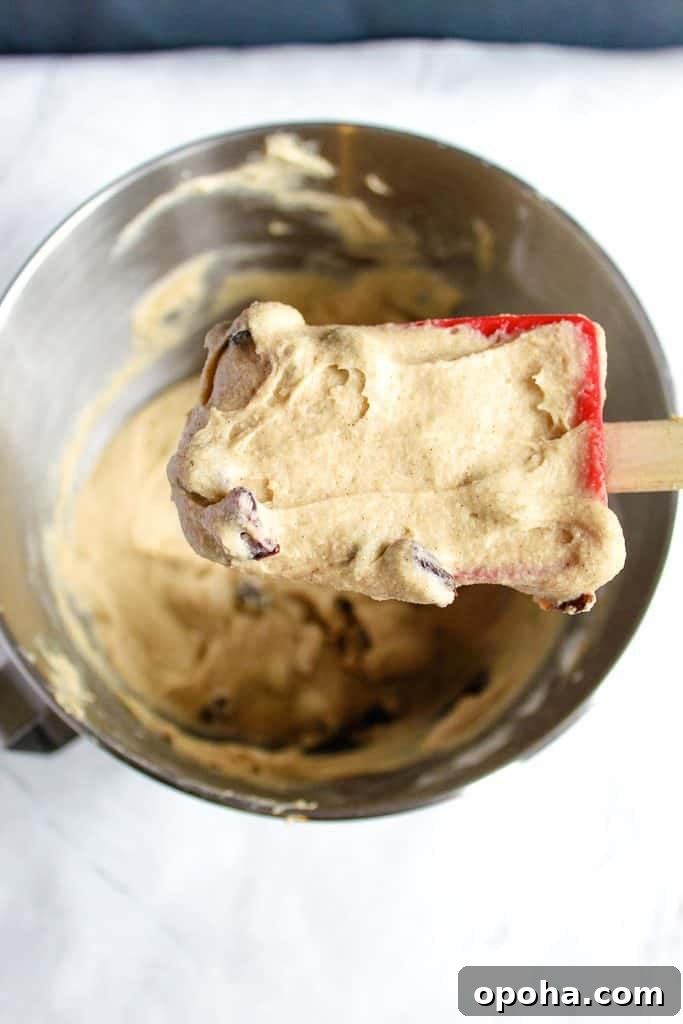
Step 6: Portion the Dough
Use a ⅓-cup measure to portion 12 scoops of batter into the prepared pan. The batter should hold shape loosely but remain soft and sticky.
Step 7: Proof the Dough
Cover and let rise in a warm, draft-free place about 30 minutes. Expect a slight puff but not a full double — gluten-free batters behave differently.
Step 8: Bake
Bake at 375°F (190°C) for about 25 minutes, until tops are golden and the interior is set. Look for even browning and a slight spring when pressed.
Step 9: Cool Slightly
Let the buns rest in the pan for a few minutes before glazing so the crumb finishes setting and the buns hold together when decorated.
Step 10: Add the Cross & Glaze
Whisk the glaze to a pipeable consistency, transfer to a bag, and pipe crosses on each bun. Allow the glaze to set before serving.

Why Gluten-Free Hot Cross Buns Are Hard to Make
Gluten-free dough lacks gluten’s elasticity, so it needs a careful combination of flours, starches, and binders to trap gas, retain moisture, and set correctly. Hydration, mixing, and proofing are all more sensitive than in wheat-based doughs.
Missing Structure Problem
Without gluten, the dough struggles to hold shape and trap air; the right flour and starch blend with xanthan gum compensate for this.
Moisture Balance Challenges
Gluten-free dough needs more hydration, but too much or too little will cause gummy or dry results. Stick to the recipe measurements and visual cues.
Yeast & Rise Issues
Weaker structure means the rise is more sensitive to temperature and timing. Use warm water (not hot), fresh yeast, and a warm proofing spot for consistent results.
The Best Gluten-Free Flours for Hot Cross Buns
No single flour replicates gluten, so combine options: brown rice for structure, sorghum for softness, and starches for elasticity. This layered approach creates a light, tender crumb.
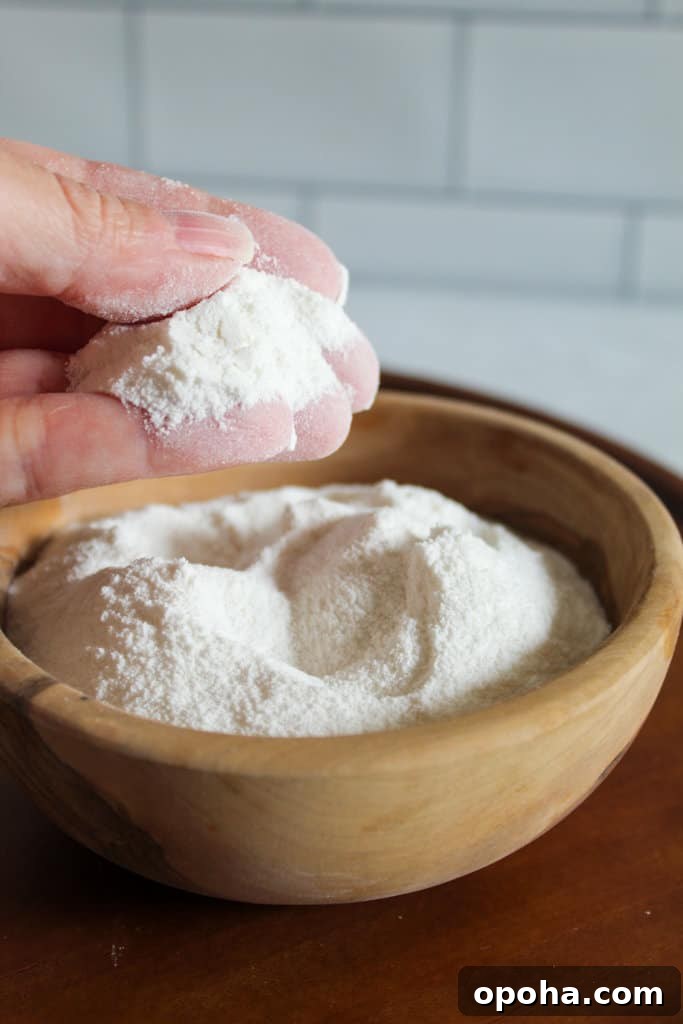
Rice Flour
Brown rice flour forms the structural base. Use it with other flours and starches — alone it can produce dense, crumbly results.
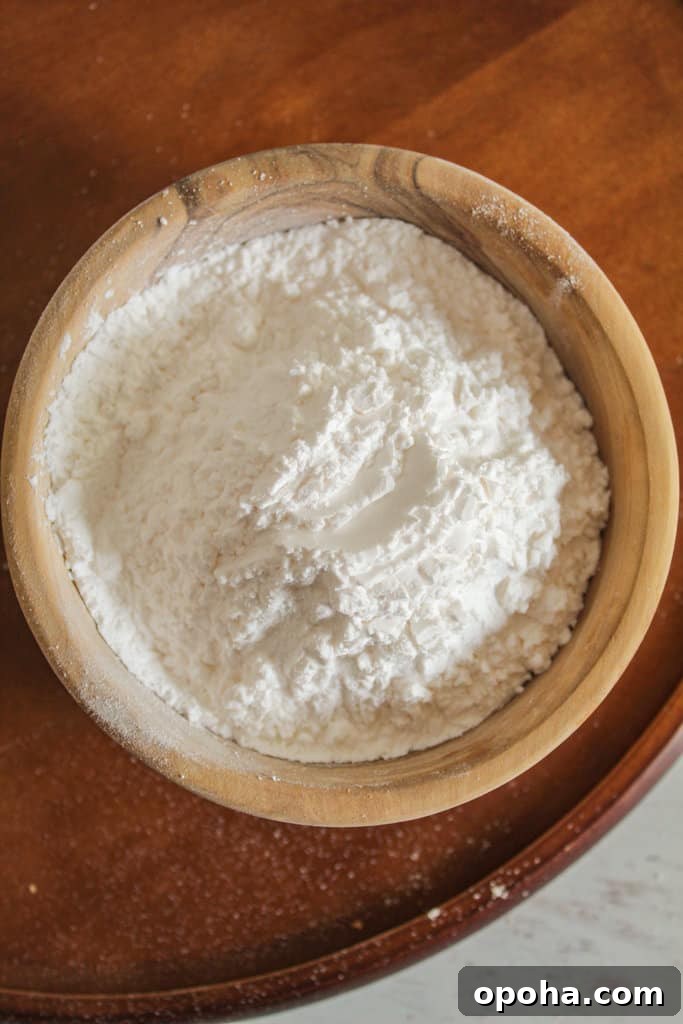
Tapioca Flour
Tapioca adds chew and stretch. It’s sticky on its own, so use it as part of a blend to avoid a gluey texture.
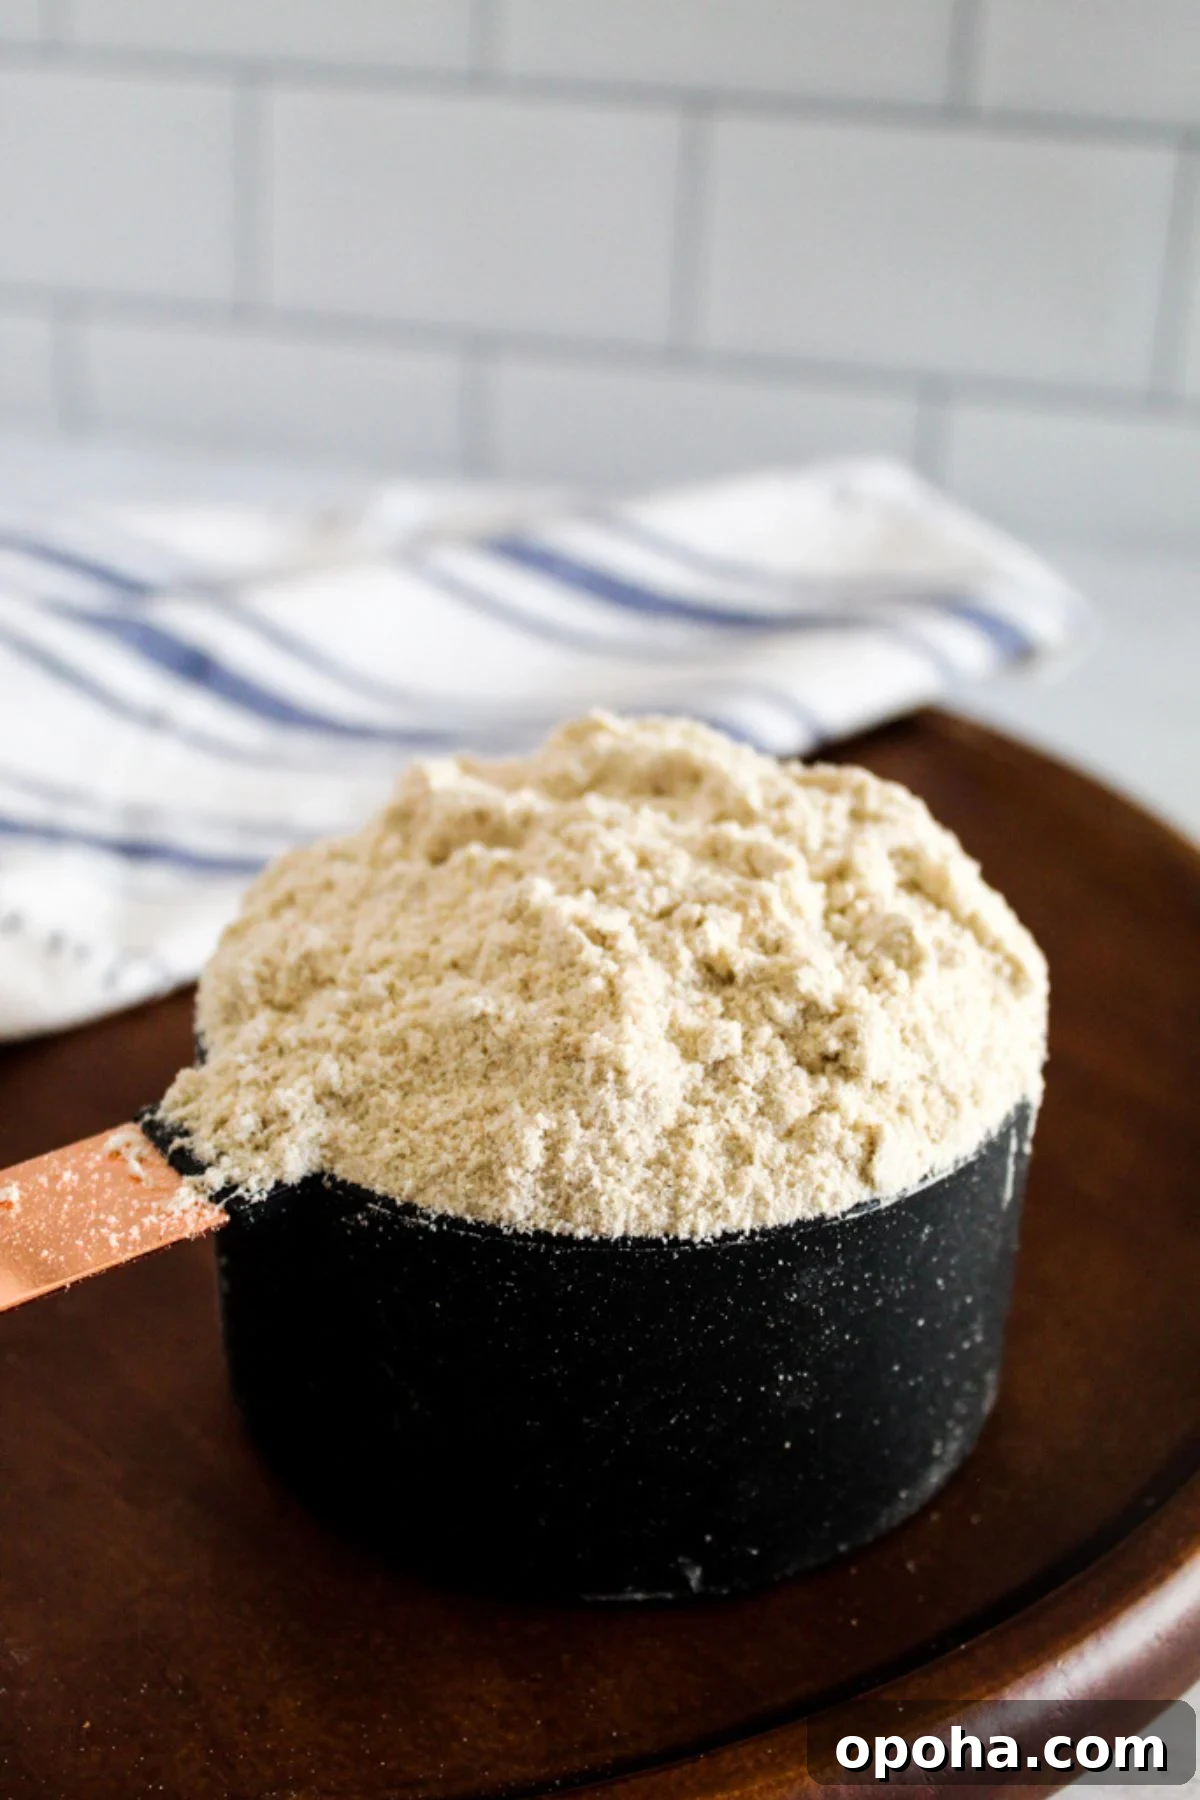
Sorghum Flour
Sorghum softens the crumb and improves mouthfeel. It pairs well with rice flour and starches to reduce grittiness.
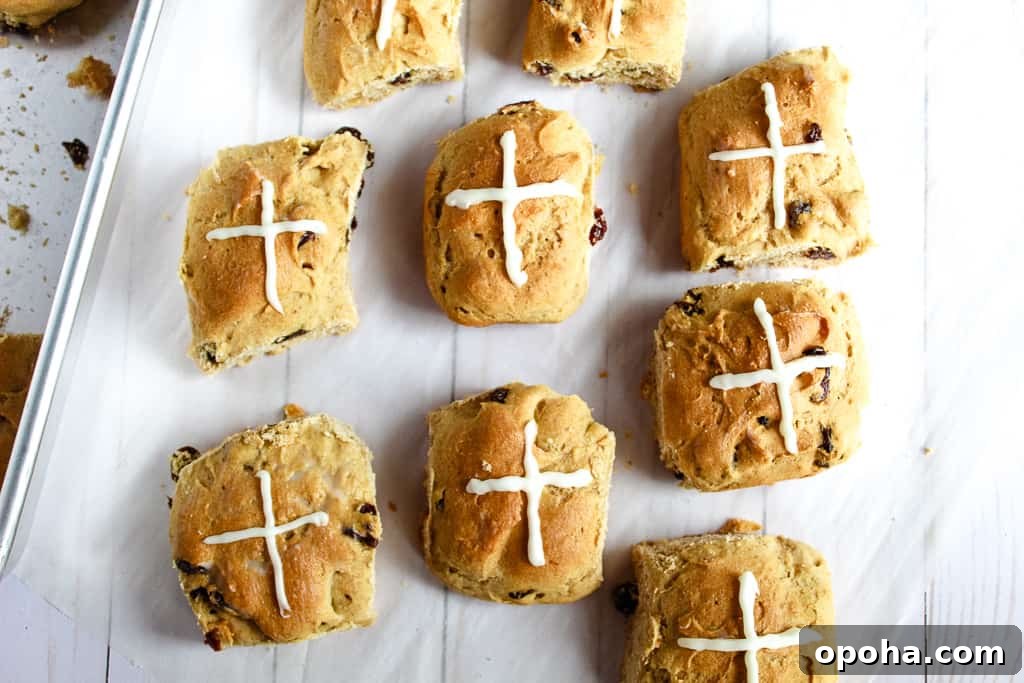
How to Get Soft & Fluffy Gluten-Free Buns
Control a few key variables: hydration, mixing, proofing, and baking time. Pay attention to texture cues rather than only clocks.
Hydration Tips
The batter should be soft and slightly sticky. Resist adding more dry ingredients to firm it up; that will weigh the buns down.
Mixing Method
Mix until smooth and fully combined to ensure even texture and consistent rise.
Dough Consistency (Visual Cues)
The dough should be thick and scoopable, not stiff or runny. It should hold its shape loosely when portioned.
Baking Precision
Bake until the buns are lightly golden and set. Underbaking leaves a gummy center; overbaking dries them out.
Proofing & Rise Guide
Proofing determines whether gluten-free buns become light or dense. Watch the dough for visual signs: slight puffing, smoother surface, and gentle spring-back.
How Long Should Dough Rise?
About 30 minutes in a warm, draft-free place is usually sufficient.
Signs Your Dough Is Ready
- Slightly puffed appearance
- Smoother surface
- Slow spring-back when touched
Common Proofing Mistakes
Avoid these pitfalls:
- Letting the dough sit too long
- Proofing in a cold environment
- Placing the dough in excessive heat
Common Problems and Fixes for Better Results
Small errors can change the outcome. Below are common issues and how to fix them quickly.
Why Are My Buns Dense?
Dense buns often come from incorrect ratios, too much dry ingredient, or insufficient rise. Keep the batter soft, measure accurately, and allow proper proofing time.
Why Didn’t They Rise?
Check yeast freshness, water temperature, and proofing conditions. Use warm (not hot) water and a consistently warm, draft-free place.
Why Are They Dry?
Dryness comes from moisture loss or too much dry ingredient. Follow measurements and avoid overbaking.
Why Is the Texture Gummy?
Gummy texture means the crumb didn’t set. Bake until set, keep ingredient ratios balanced, and allow the buns to cool slightly before serving.
Other Flavor Variations You Should Try
Once you have the base down, you can vary add-ins without upsetting texture.
No Raisins Version
Omit raisins and cranberries for a plainer bun, or replace them with chopped nuts or seeds for extra texture.
Chocolate Chip Version
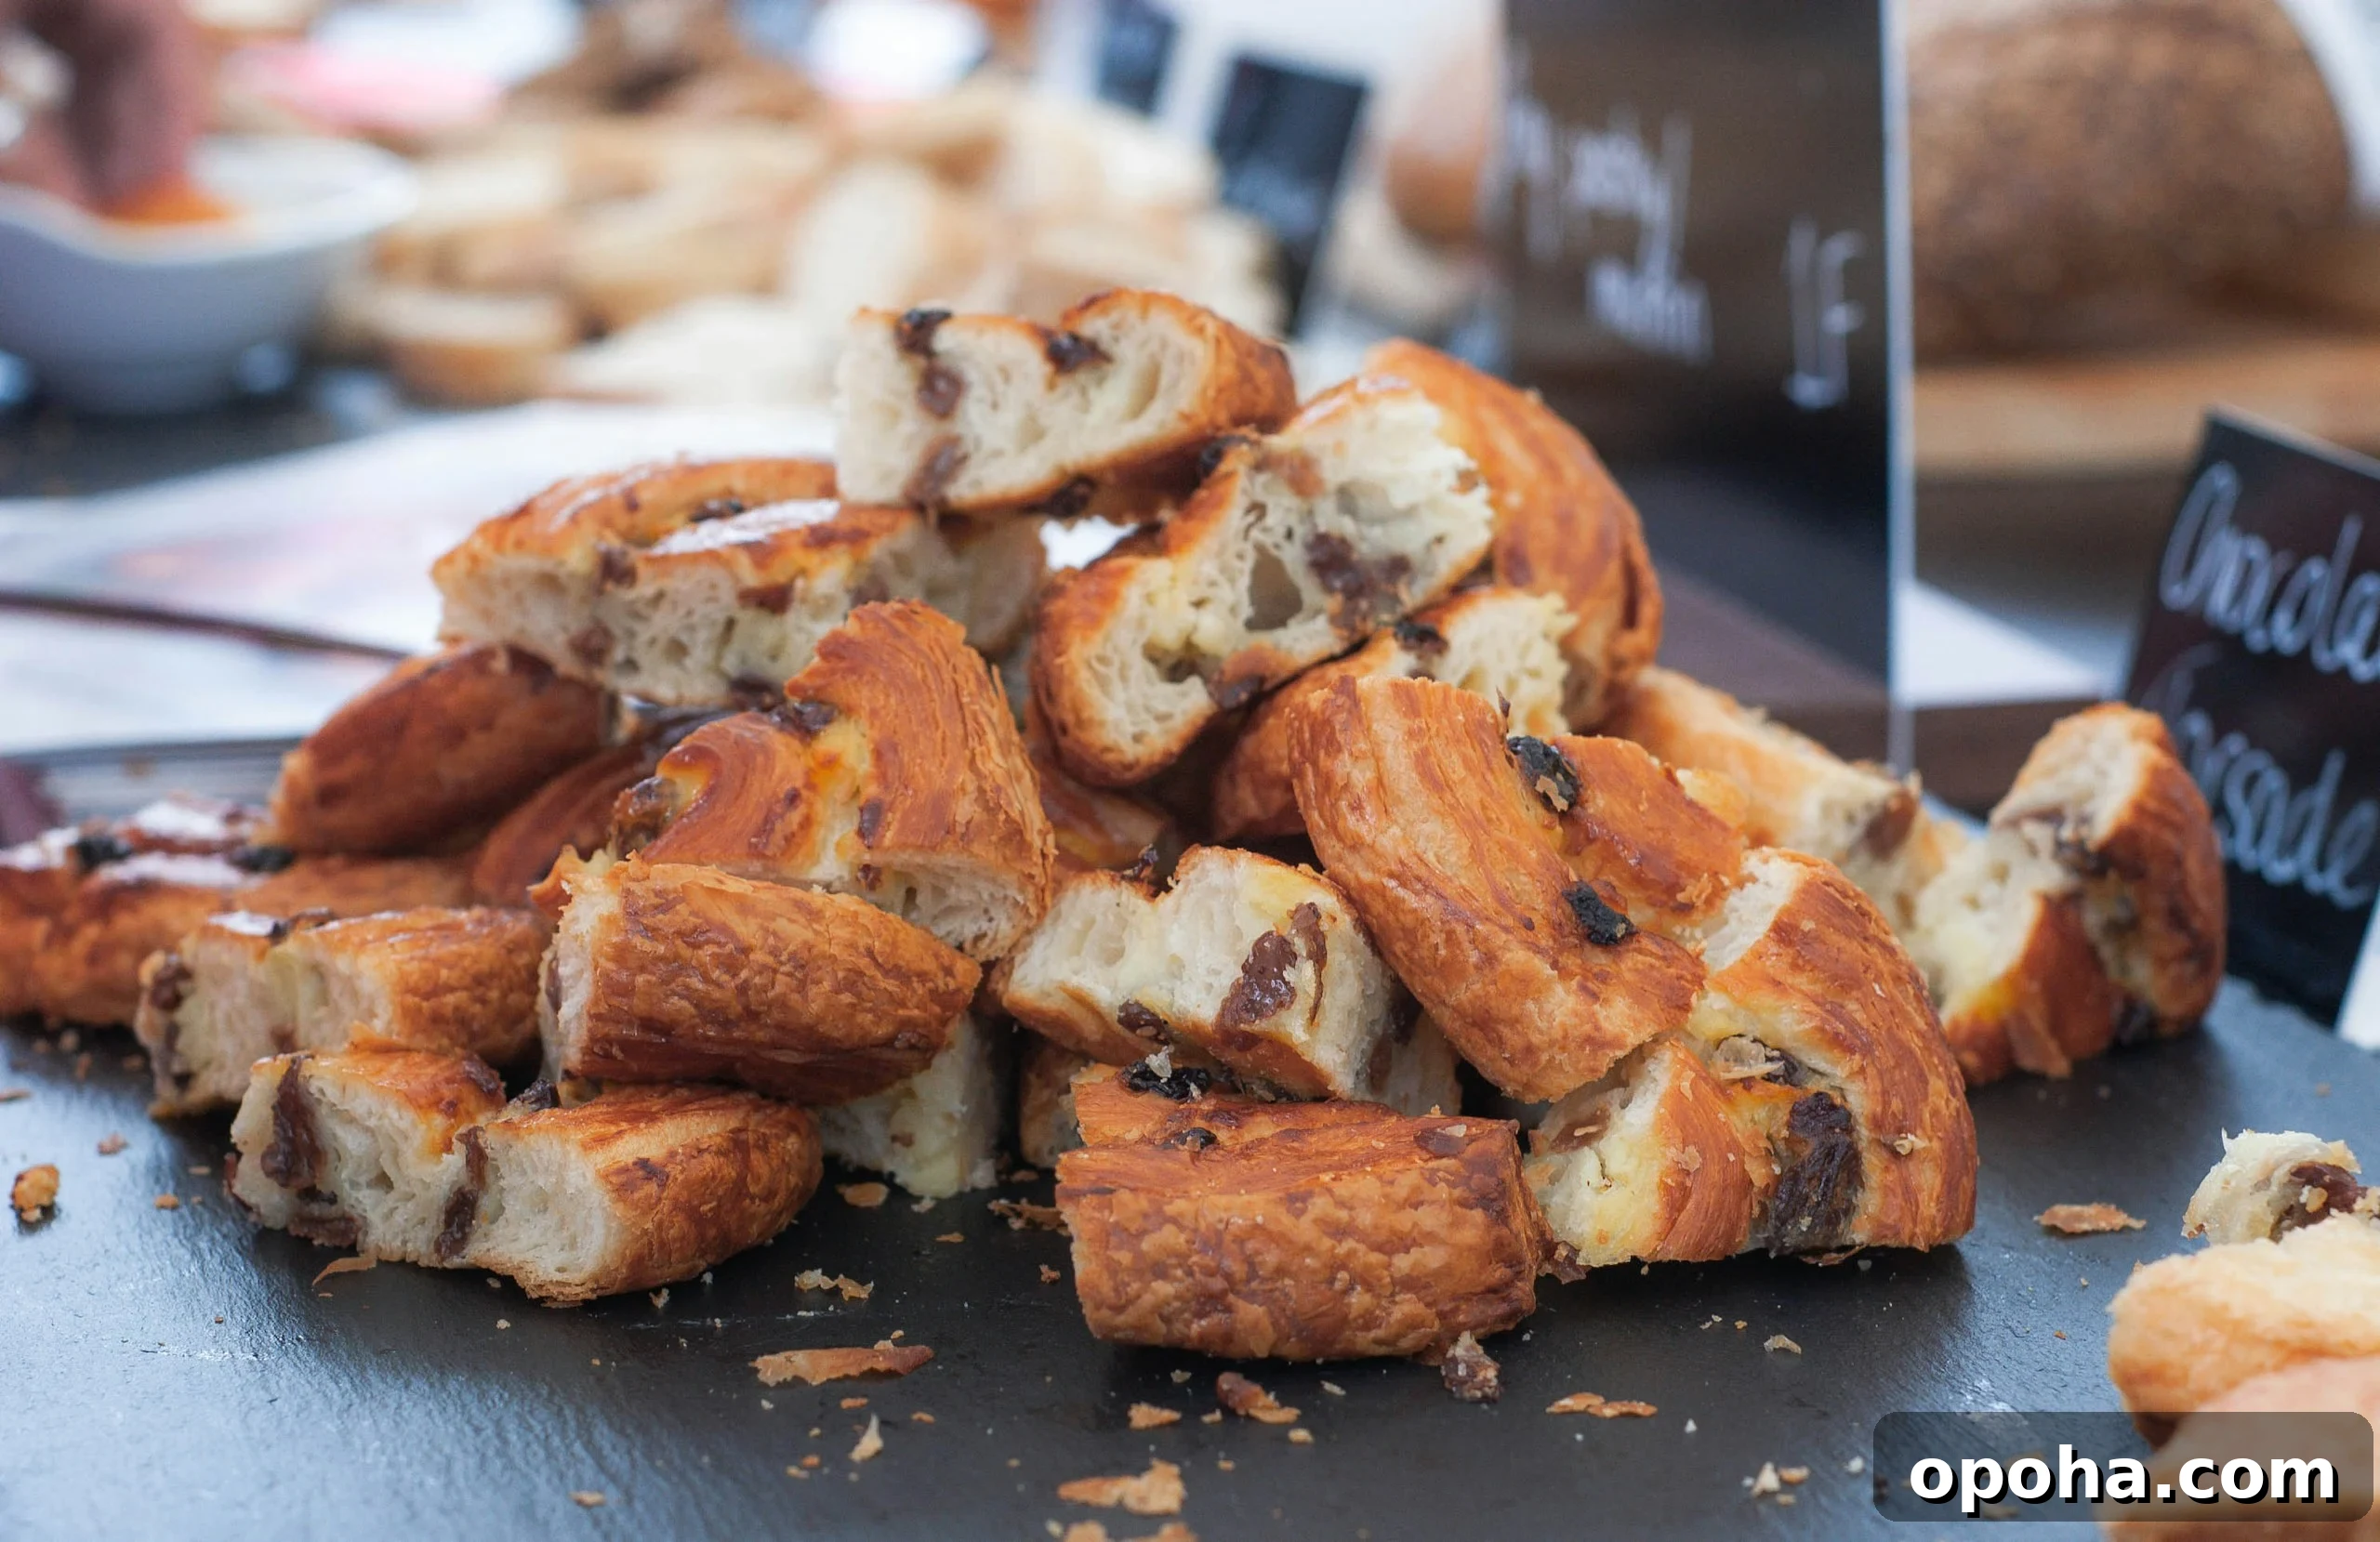
Swap the dried fruit for chocolate chips for a sweeter, richer option. Add chips at the same stage as fruit to distribute evenly.
Citrus Glaze Version
Brighten the glaze by adding orange or lemon zest and replacing some milk with fresh citrus juice for a lively finish that complements the warm spices.
How to Serve Hot Cross Buns
Serve slightly warm for the best texture. Toasting briefly refreshes the exterior while keeping the interior soft. They work well on their own or with simple breakfast pairings.
How to Store, Freeze & Reheat These Buns
Proper storage preserves softness. Cool completely, store airtight for 1–2 days, or freeze unglazed for up to 2 months. Thaw at room temperature and warm gently before serving.
Nutritional Benefits of Gluten-Free Hot Cross Buns
Made with whole-grain flours like sorghum and measured starches, these buns can offer steady carbohydrate energy and are suitable for people with celiac disease or gluten sensitivity. Ingredient choices affect nutrition: sorghum adds fiber, B vitamins, and minerals, while an emphasis on refined starches lowers density of nutrients. This recipe aims for a balanced, enjoyable treat that respects the traditional flavor profile.
Frequently Asked Questions
Below are common questions about this recipe and brief answers to help you troubleshoot and adapt.
How Do I Make the Buns More Flavorful Without Changing the Texture?
Increase spices slightly or add citrus zest to dough or glaze. Small flavor additions won’t upset the structure.
Do I Need A Stand Mixer for This Recipe?
A mixer helps achieve a smooth, well-aerated batter, but you can mix by hand if you take care to fully combine the ingredients.
Can I Make Smaller or Larger Buns with This Recipe?
Yes. Adjust baking time accordingly: smaller buns will bake faster, larger ones will need more time and careful monitoring to avoid drying.
Can I Make This Recipe Dairy-Free?
Yes. Replace butter with coconut oil or dairy-free butter and use plant milk for the glaze. Texture remains similar when swaps follow the same fat proportions.
Related Recipes You Should Try Next
If you enjoyed these buns, try other gluten-free yeast or quick-bread recipes that use similar techniques for soft texture and consistent results.
Share Your Results & Questions
If you make these buns, share how they turned out and any adjustments you tried. Questions about ingredients, texture, or timing help others replicate your success and improve the recipe for everyone.